


I’ve honestly never met a cracker I didn’t like, but it never crossed my mind to make them at home until I started noticing how expensive a simple box of crackers had become.
As it turns out, homemade Cheez-Its are much easier to make than you’d think. All you need is a block of sharp cheddar, a few pantry staples, and a food processor. In return, you get crispy, buttery crackers made with real cheese and ingredients you actually recognize.
I love snacking on these by the handful, packing them into lunch boxes, or serving them with a bowl of tomato soup, which is probably my favorite way to eat them. They have that familiar cheesy crunch you’d expect from the boxed version, but they taste just a little more special because they’re homemade.
The only tiny downside is they aren’t shelf-stable like store-bought crackers. They’ll stay crisp for several days in an airtight container, though we honestly eat them all up before then.

Why You’ll Love This Homemade Cheez-Its Recipe
- Only five ingredients. Chances are, you already have most of them on hand.
- Made with real sharp cheddar. No artificial cheese flavoring here.
- Easy to make. Once the dough comes together in the food processor, the rest is just rolling, cutting, and baking.
- That classic crunchy bite. Roll the dough nice and thin for crisp, buttery crackers with plenty of crunch.
- A snack you’ll keep coming back to. Pack them into lunch boxes, serve them with a bowl of tomato soup, or just grab a handful whenever you’re in the mood for a snack.
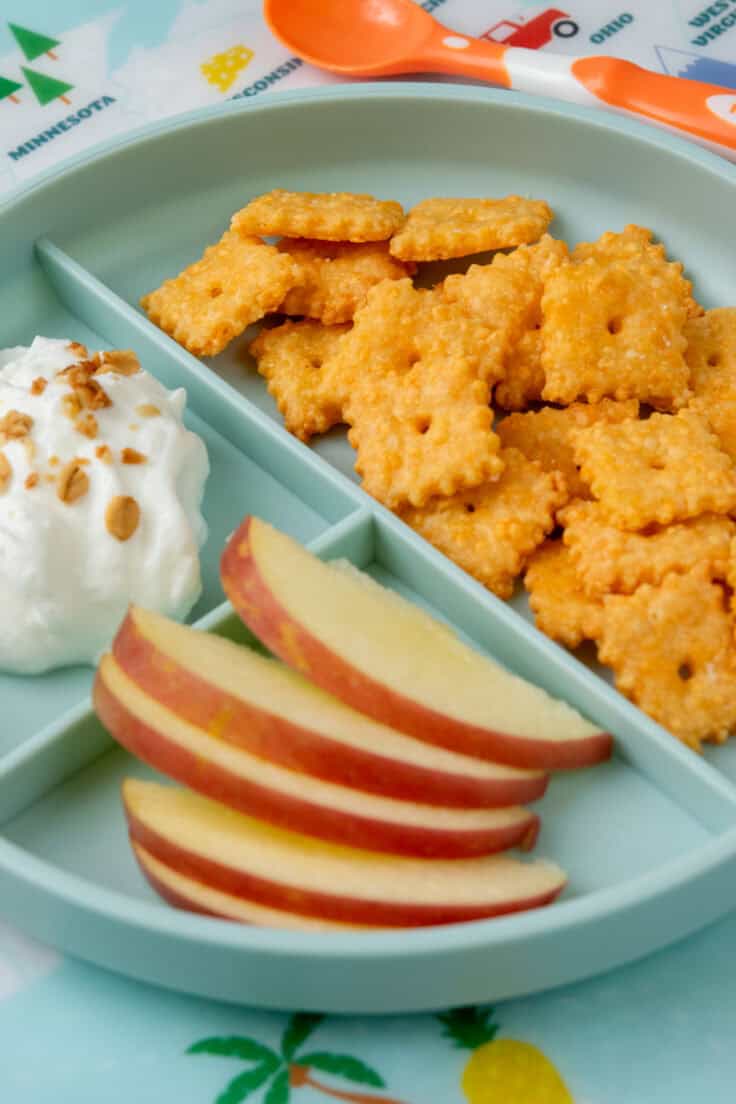
If you enjoy homemade snack recipes, you might also like Dill Pickle Saltine Crackers or Ranch Oyster Crackers.
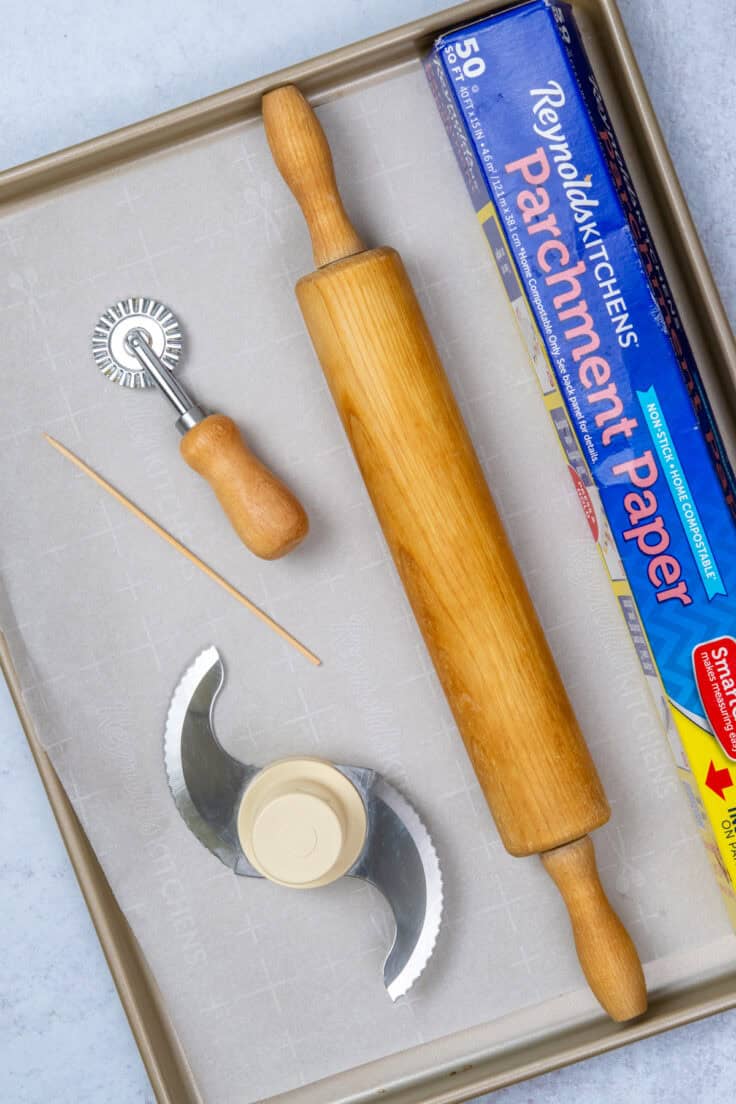
Equipment You’ll Need
This recipe comes together quickly with a food processor.
You’ll also need:
- Rolling pin
- Parchment paper
- Pastry cutter with a fluted edge, pizza cutter, or sharp knife
- Straight edge or ruler (optional)
- Wooden skewer
- Baking sheet
- Plastic wrap
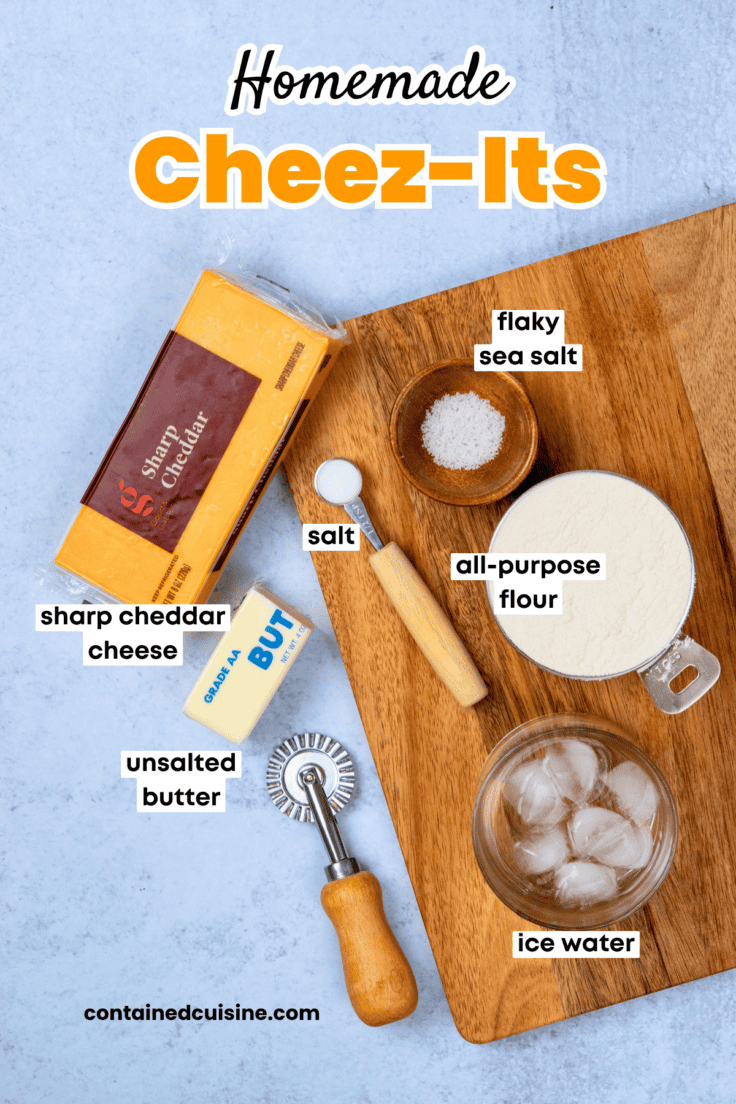
Ingredients Needed
- Sharp cheddar cheese
- All-purpose flour
- Unsalted butter
- Table salt
- Ice water
- Flaky sea salt (for topping)
Ingredient Notes & Substitutions
Sharp Cheddar
Use a block of sharp cheddar cheese, not pre-shredded cheese. Sharp cheddar has less moisture than mild cheddar, which helps create crisp crackers with more concentrated cheese flavor.
I also recommend cubing the cheese instead of grating it. The food processor handles the chopping, so there’s no reason to spend extra time with a box grater.
Butter
Use cold unsalted butter straight from the refrigerator.
Don’t soften it first. Cold butter is one of the biggest secrets to getting crisp crackers.
Flour
Regular all-purpose flour works perfectly here.
I haven’t tested this recipe with gluten-free flour or other substitutions, so I can’t recommend them yet.
Salt
I mix regular table salt into the dough, then finish the crackers with a light sprinkle of flaky sea salt before baking.
The flaky salt adds a little extra crunch and makes the finished crackers taste even closer to the original.
Ice Water
Don’t skip the ice cubes.
Adding ice to your water keeps the dough nice and cold while it comes together, which helps produce crisp crackers.
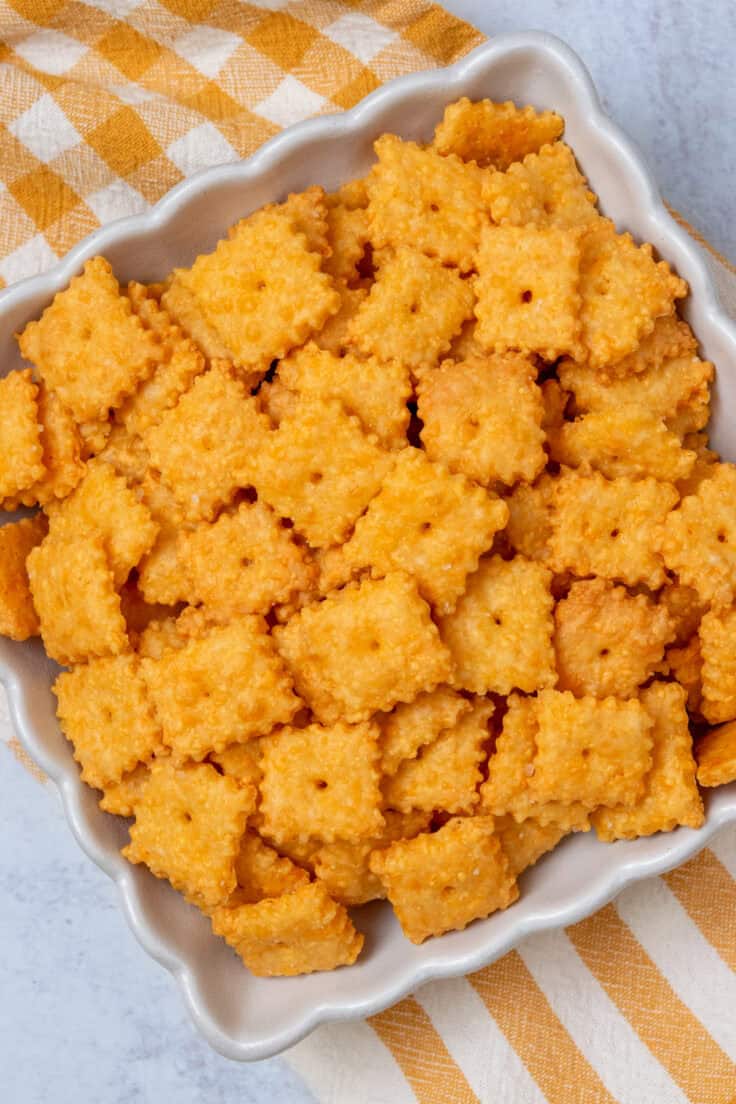
KEEP EVERYTHING COLD
If there’s one thing I could emphasize about this recipe, it’s temperature. Cold cheese, cold butter, cold water, cold dough. Even after you cut the crackers, don’t let them sit around warming up while the oven finishes preheating. The colder the dough stays, the crispier the crackers will be.
How to Make Homemade Cheez-Its
Detailed recipe and instructions are in recipe card at bottom of post.
Don’t let the number of steps scare you away. Most of them take just a minute or two, and they’re broken up this way to make the process easier to follow.
Cube and Chill the Cheddar
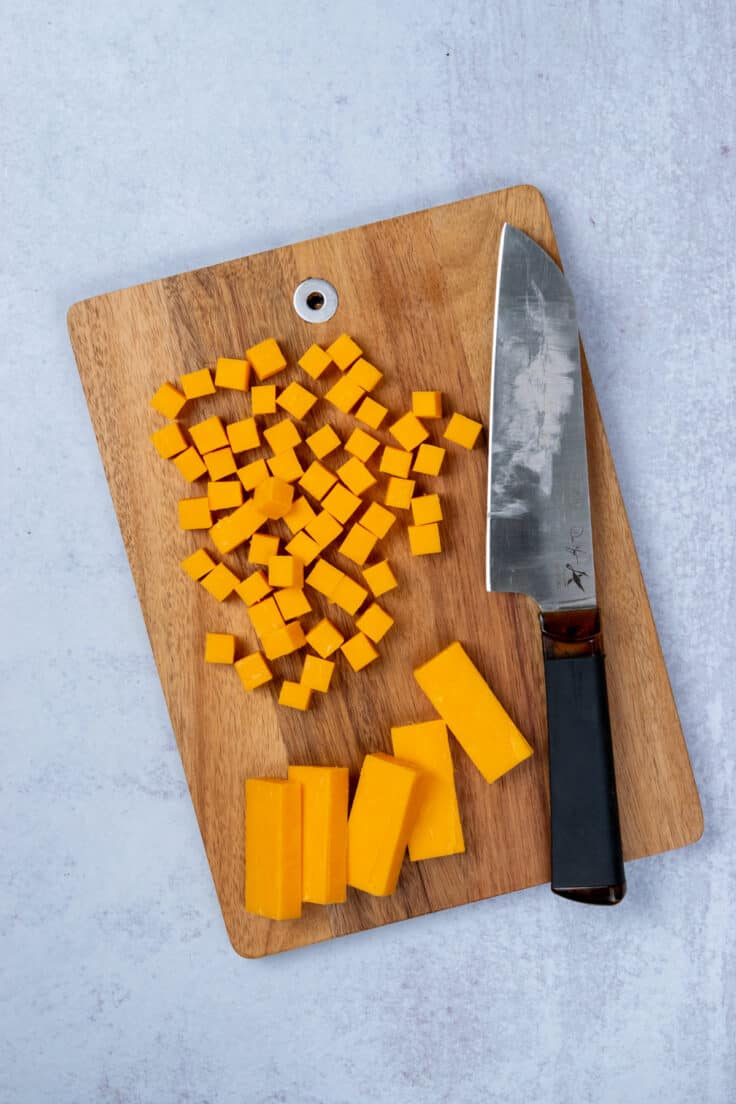
Cut the cheddar into roughly ½-inch cubes and place them in the freezer for about 15 minutes.
Many recipes have you grate the cheese first, but I don’t find that necessary. The food processor does all the chopping anyway, and cubing saves a little time.
Chilling the cheese also helps prevent it from becoming gummy while it’s processed.
Cube the Butter
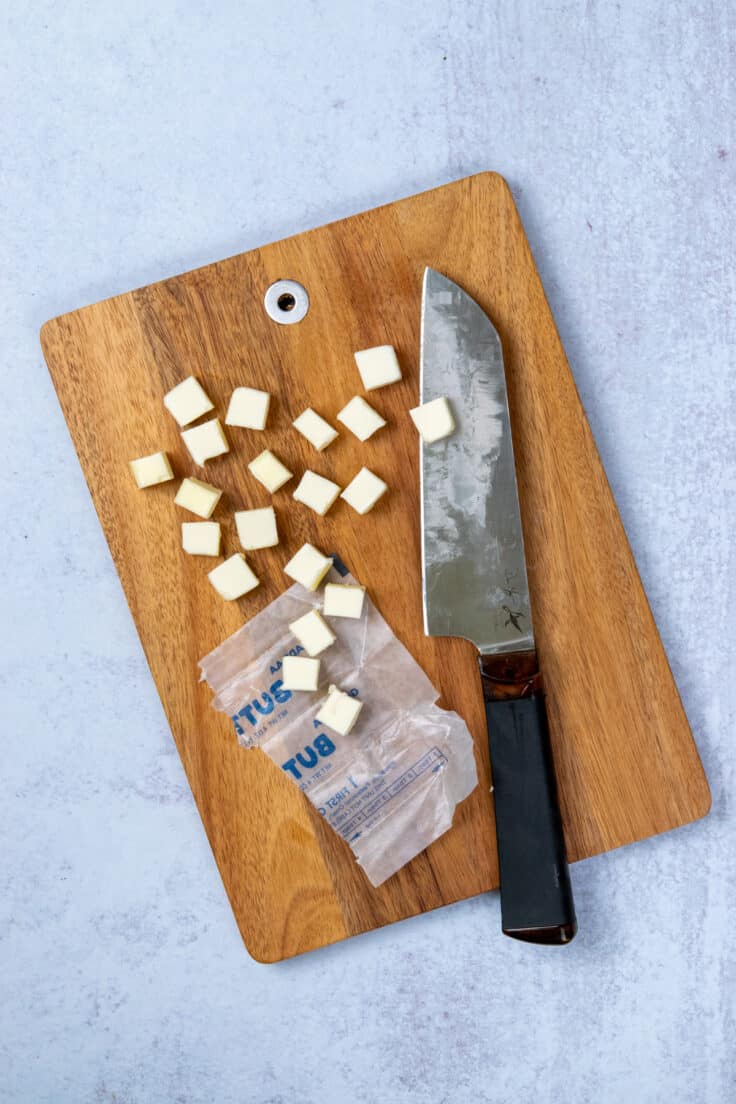
While the cheese chills, cut the butter into small cubes and return it to the refrigerator.
You want cold butter, but not frozen butter.
Keeping everything cold from the beginning really makes a difference in the finished texture.
Measure the Dry Ingredients
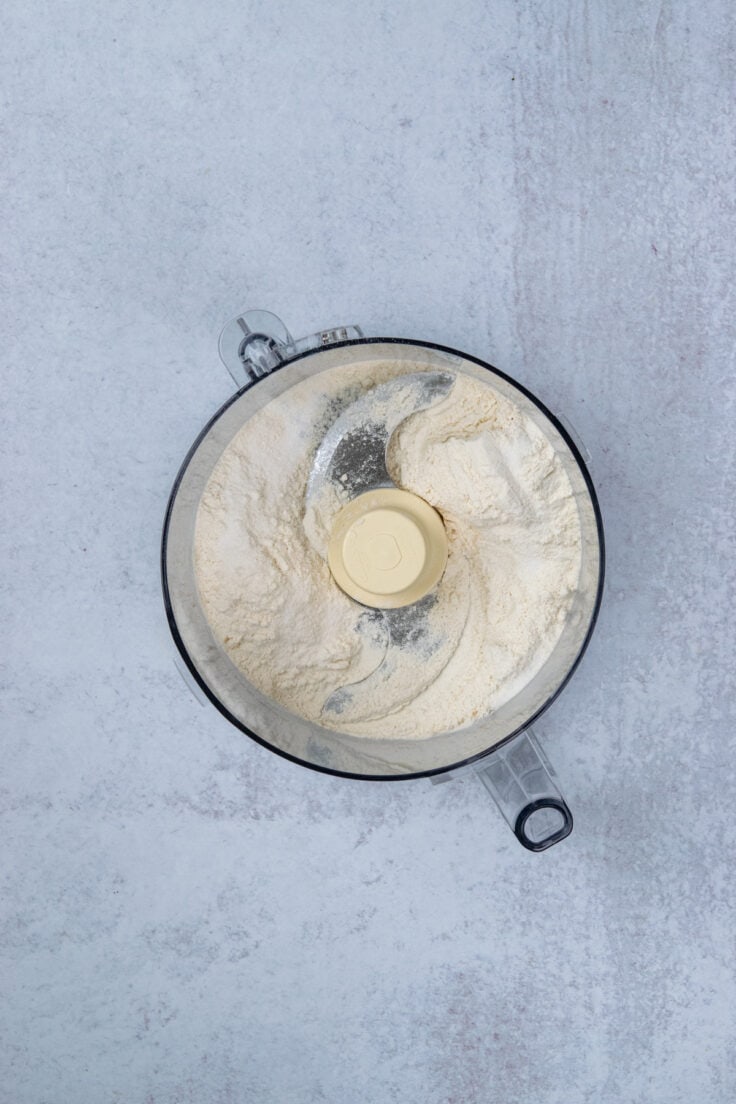
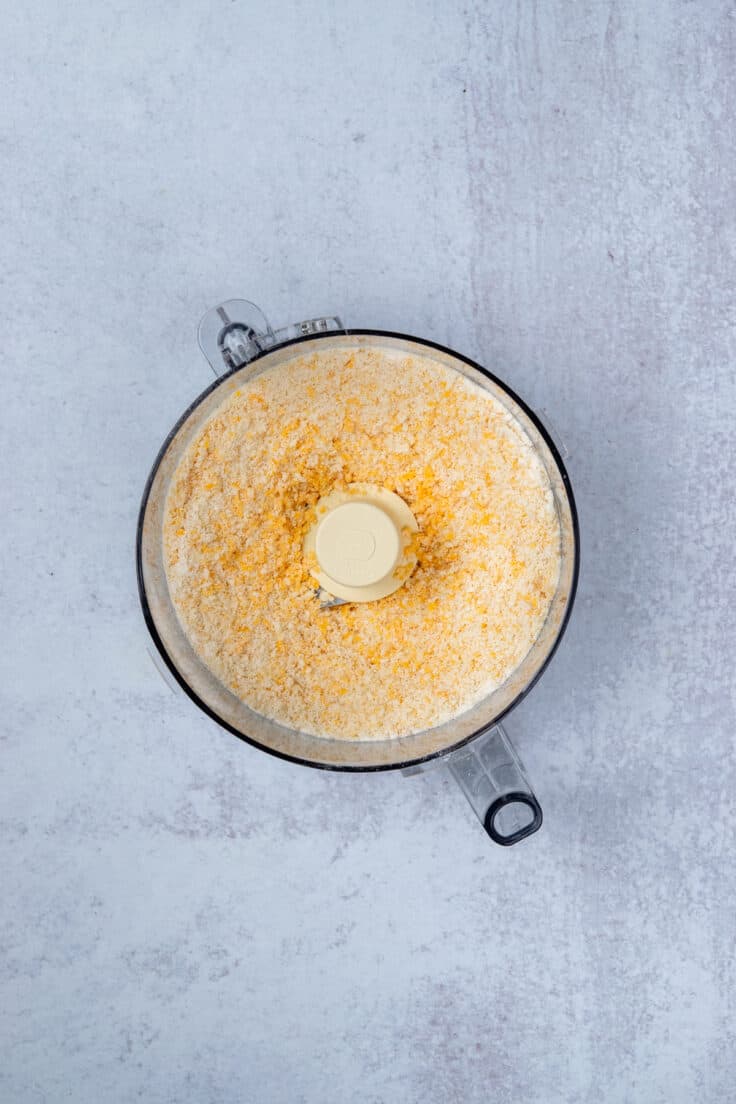
Fit the food processor with the S blade, then add the flour and table salt to the bowl of your food processor while the cheese finishes chilling.
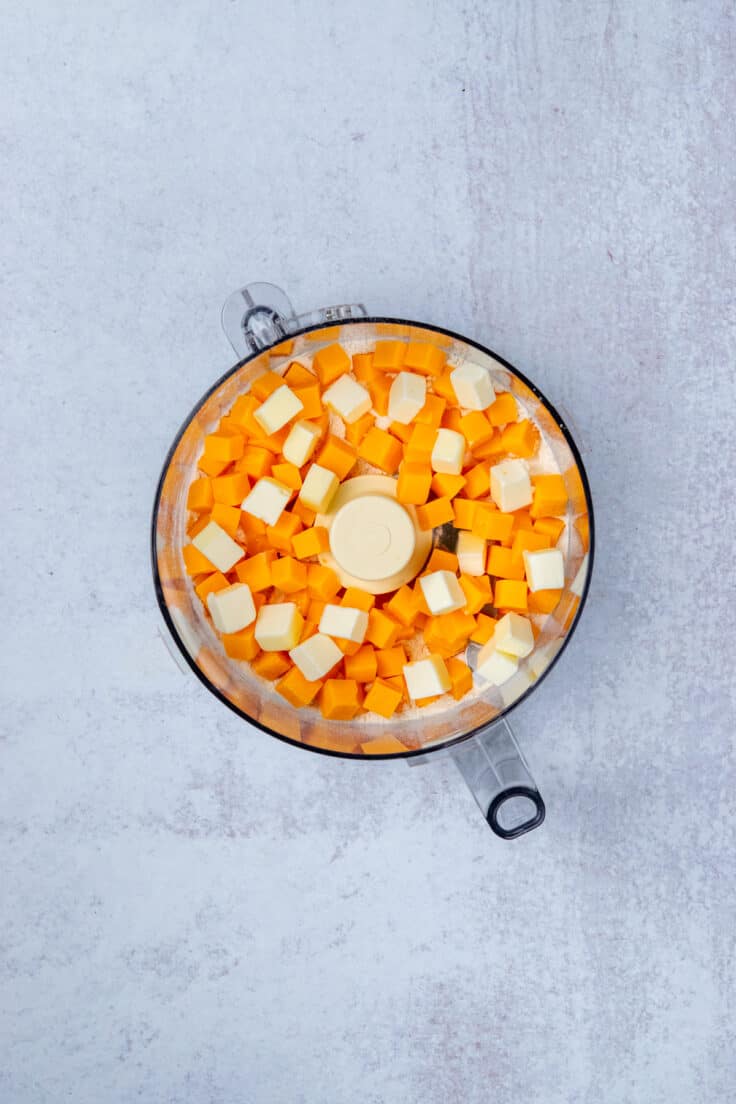
Add the chilled cheddar cubes and cold butter to the food processor bowl with the flour mixture.
Pulse the Dough Together
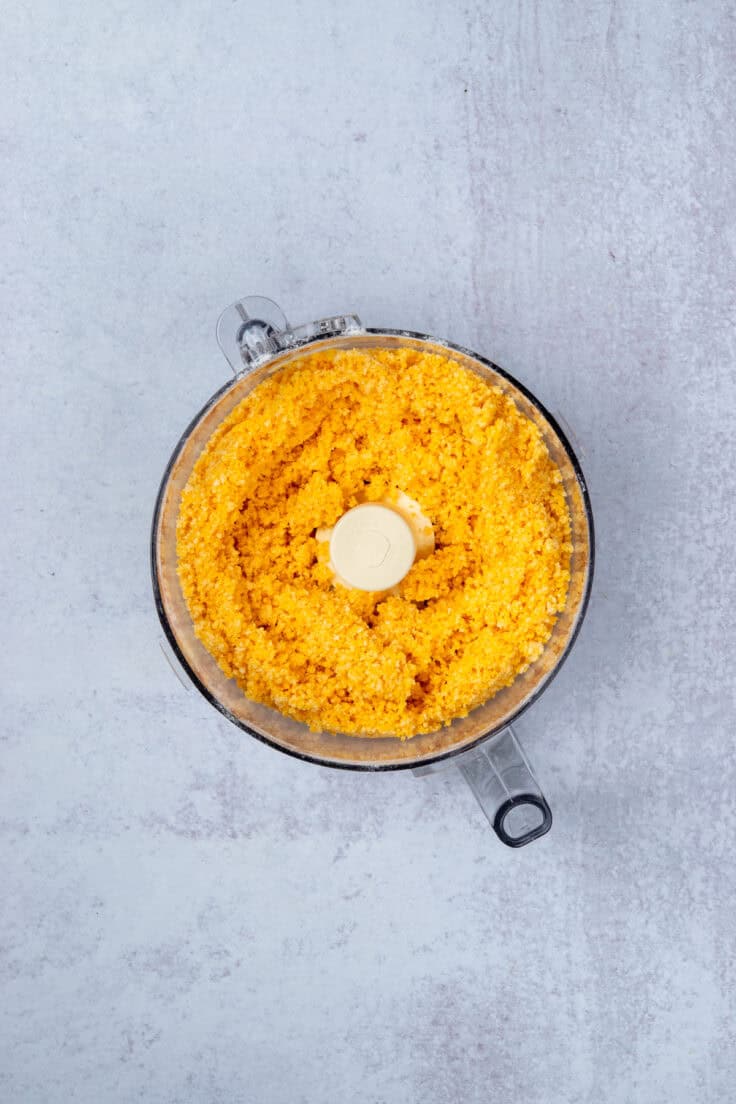
Pulse about fifteen times using quick one-second bursts. The mixture should resemble coarse sand.
The flour coats the cheese as it’s chopped, which helps keep everything from sticking together.
Then add 2 tablespoons of ice water and pulse again about 5-10 times. The mixture will look like wet sand.
Form the Dough and Chill
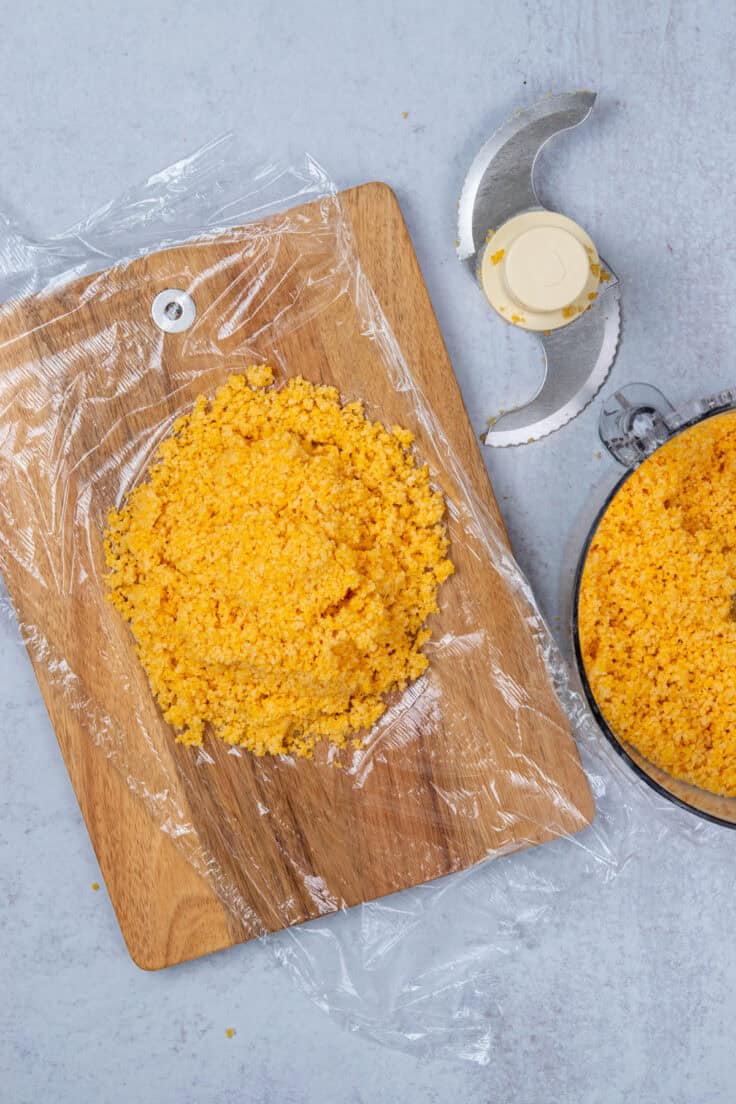
Turn the mixture out onto a large piece of plastic wrap. (You can make one ball or divide into two.)
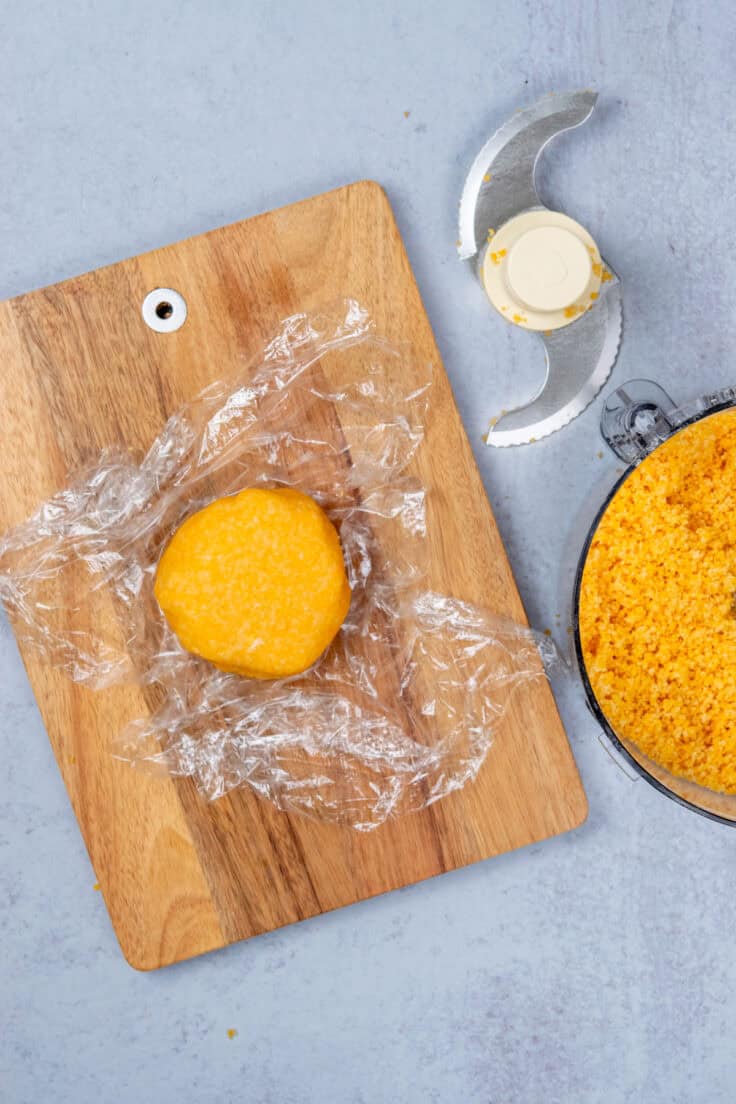
There’s no need to knead the dough. Instead, use the plastic wrap to press everything together into a ball, then flatten it into a disc about an inch thick. Using the plastic wrap instead of your hands helps keep the butter from warming up too much.
Refrigerate the dough for 30 to 60 minutes.
A few minutes before you take it out of the refrigerator, preheat the oven to 350°F.
Roll the Dough Nice and Thin
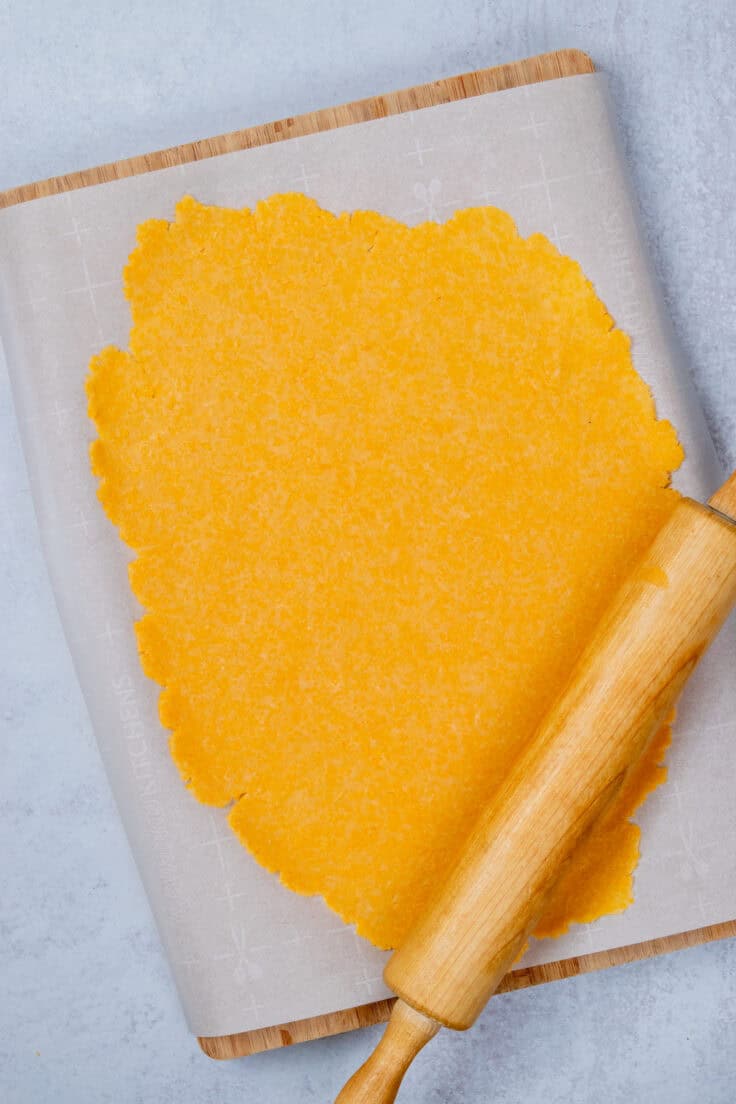
Place the chilled dough on a sheet of parchment paper and roll it out.
This is probably the most important step for getting crispy crackers.
Aim for about ⅛ inch thick. Thin dough bakes up much crispier and closer to the texture of store-bought Cheez-Its.
I like rolling directly on parchment paper because it makes transferring everything to the baking sheet much easier later.
Try to roll the dough into a rough rectangle. It doesn’t have to be perfect (as mine clearly isn’t).
Cut the Crackers
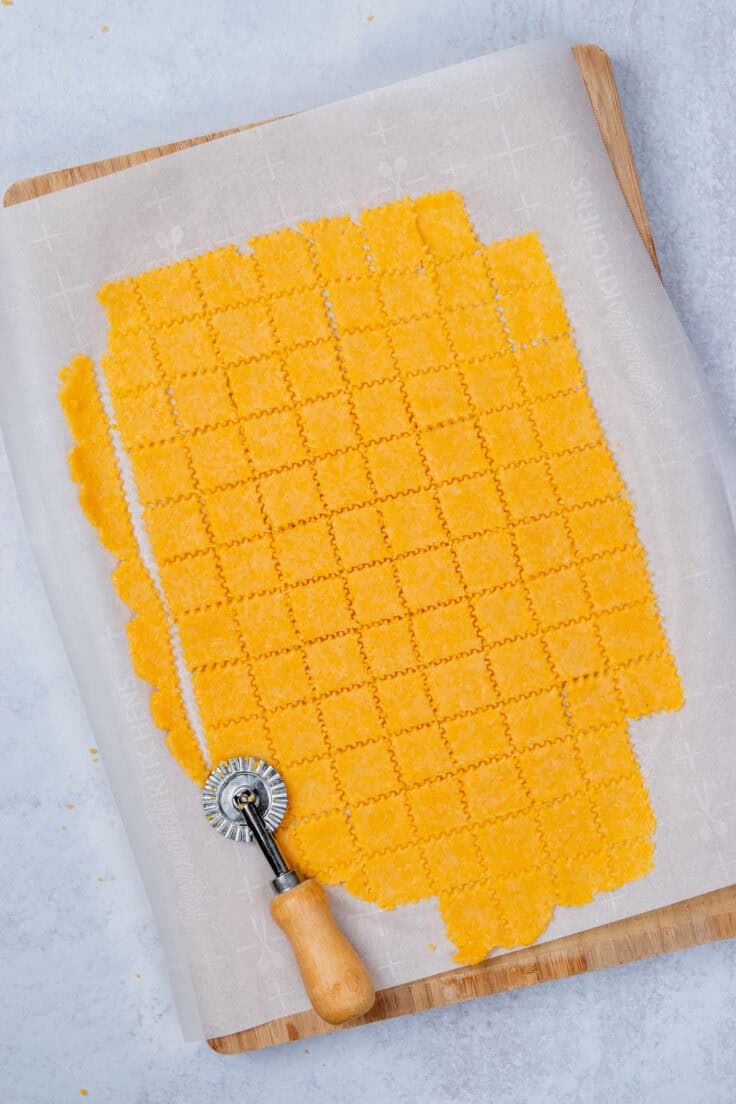
Using a fluted pastry cutter, pizza cutter, or sharp knife, cut the dough into 1-inch strips.
Rotate the dough and cut across again to create small squares.
If some edge pieces are a little larger or smaller, that’s completely fine.
Add the Signature Center Hole
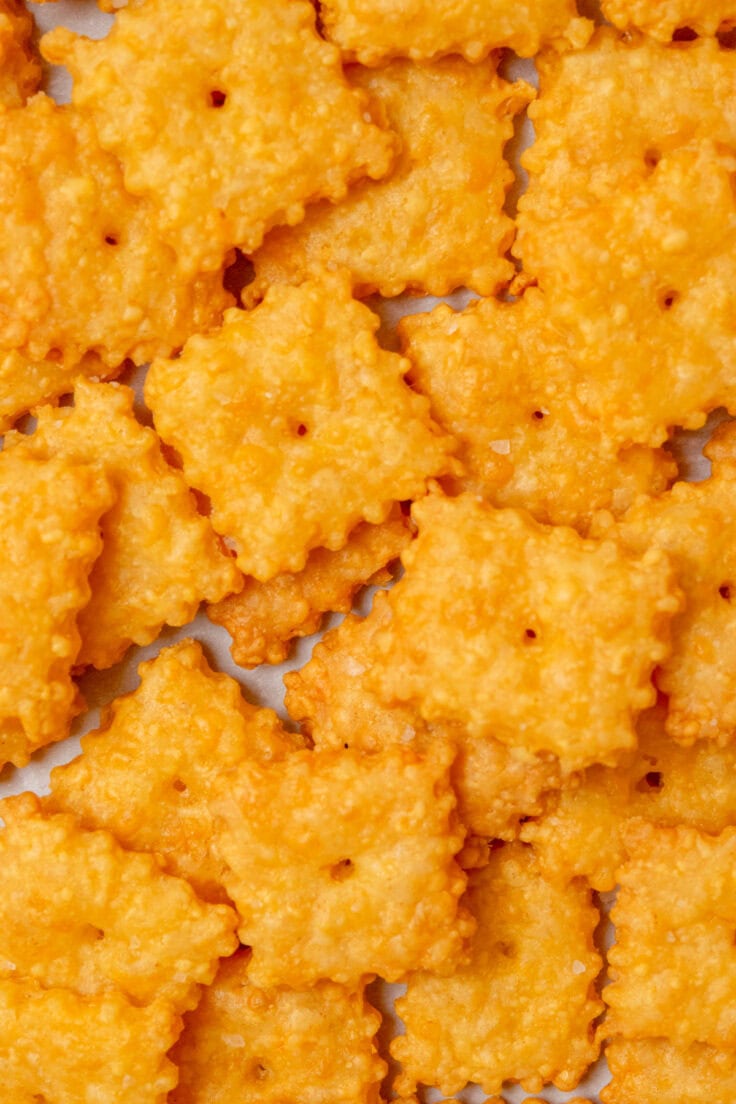
Using the blunt end of a wooden skewer, press a hole through the center of each cracker.
This step isn’t just for looks.
The hole lets steam escape during baking, which helps the crackers bake up nice and crisp.
After docking them (the technical term), move the parchement paper to a baking tray, gently separate the crackers so they aren’t touching, then sprinkle lightly with flaky sea salt.
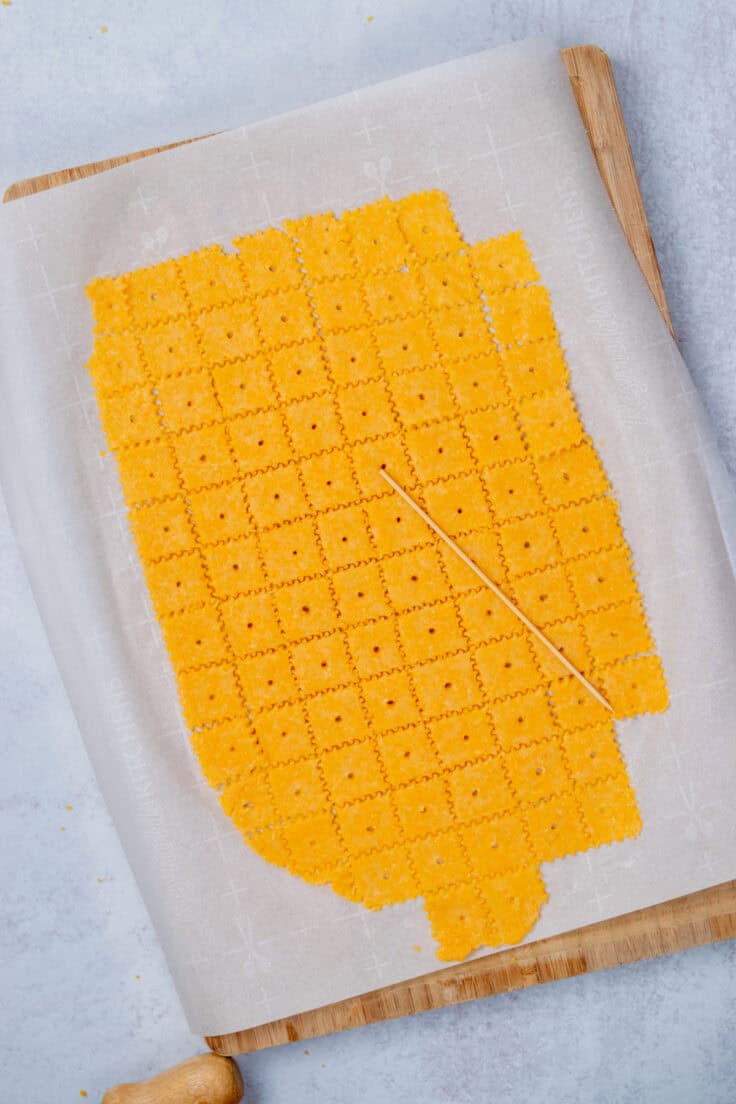
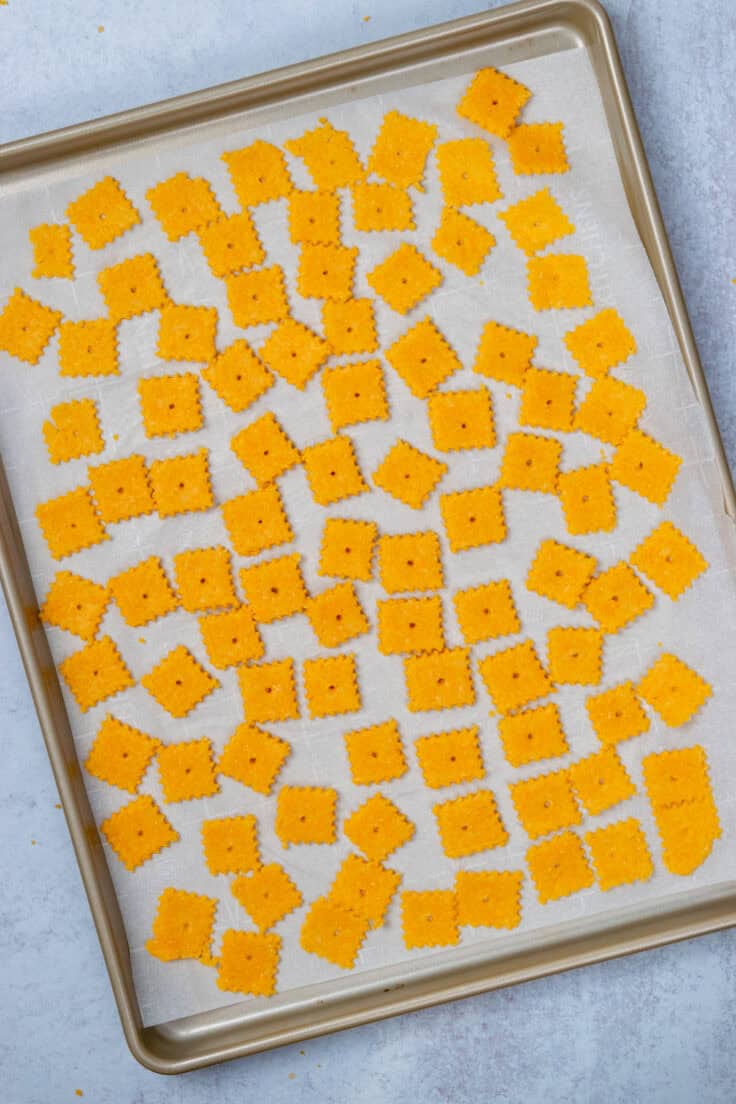
The first time I made these I was tempted to skip poking the holes. Don’t. They really do help the crackers bake up crisp.
Bake Until Lightly Golden
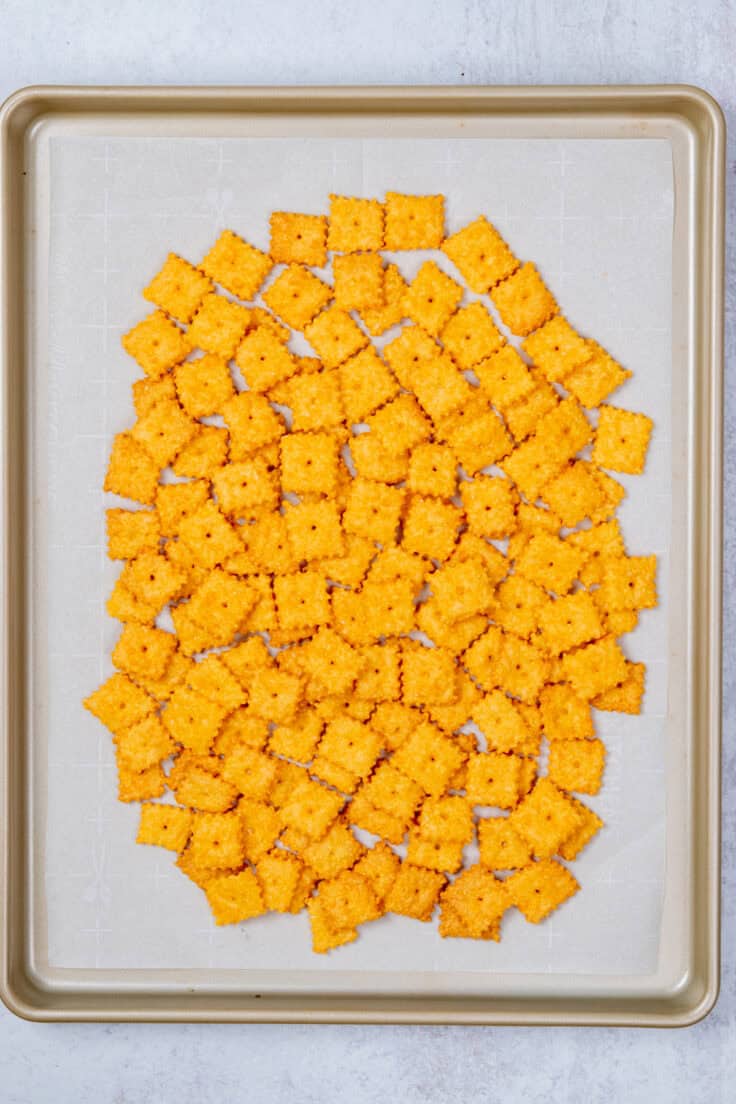
Bake for 12 to 15 minutes, or until the bottoms are lightly golden brown.
The tops shouldn’t become deeply browned.
Leave the crackers on the baking sheet to cool completely. They continue crisping as they cool, so don’t judge the texture straight from the oven.
Storage
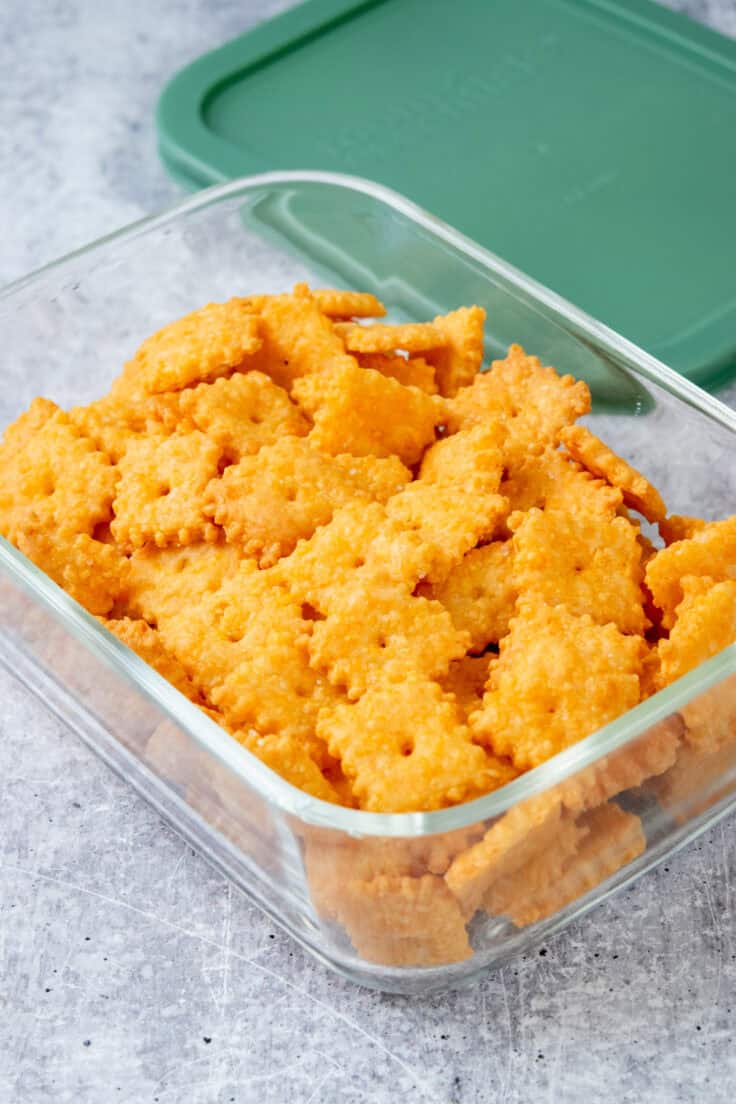
Once the crackers are completely cool, transfer them to an airtight container.
They’ll stay crisp at room temperature for about 4 days.
I even tested storing a batch in a zip-top bag, and they stayed surprisingly crisp. The important part is letting them cool completely before storing them. Any trapped warmth creates moisture, and moisture is the enemy of crispy crackers.
Recipe Notes & Tips
- Keep every ingredient cold from start to finish.
- Roll the dough as thinly as you can without tearing it. That’s what gives these crackers their crisp texture.
- Use a block of sharp cheddar instead of pre-shredded cheese.
- Sprinkle flaky sea salt lightly.
- Let the crackers cool completely before deciding whether they’re crisp enough.
MAKE A DOUBLE BATCH
These disappear fast around my house. If you’re packing lunches or serving them for a party, consider making two batches while the food processor is already out.
Why I Don’t Re-Roll the Dough Scraps
Normally I’m all for squeezing every last bit out of homemade dough, but this recipe is the exception.
After the dough has been rolled once, the butter starts getting worked into thin layers. When you gather the scraps and roll them again, those layers become compressed, and the crackers tend to bake up a little softer instead of crisp.
I’d much rather have a few rustic-looking edge crackers than perfectly square crackers that don’t have the same crunch.
If you’d rather avoid scraps altogether, divide the dough into two discs before chilling. Roll each one into a rectangle and you’ll usually waste much less dough.
Frequently Asked Questions
Can I use mild cheddar instead of sharp cheddar?
Sharp cheddar works best because it has less moisture and a stronger cheese flavor. Mild cheddar may produce slightly softer crackers with a milder taste.
Can I use pre-shredded cheese?
I don’t recommend it. Pre-shredded cheese contains anti-caking agents that can affect both the texture of the dough and the finished crackers.
Why aren’t my crackers crispy?
Usually one of three things happened:
- The dough wasn’t rolled thin enough.
- The ingredients warmed up too much.
- The crackers needed another minute or two in the oven or hadn’t cooled completely yet.
Can I freeze the dough?
Yes. Wrap the dough disc tightly in plastic wrap, then place it inside a freezer bag for up to 2 months. Thaw overnight in the refrigerator before rolling and baking.
Can I make these without a food processor?
A pastry cutter can work, but the food processor is much easier because it finely chops the cheese while mixing the dough at the same time.
More Cracker Recipes
If you enjoy making homemade snacks, here are a couple more crunchy favorites to try.
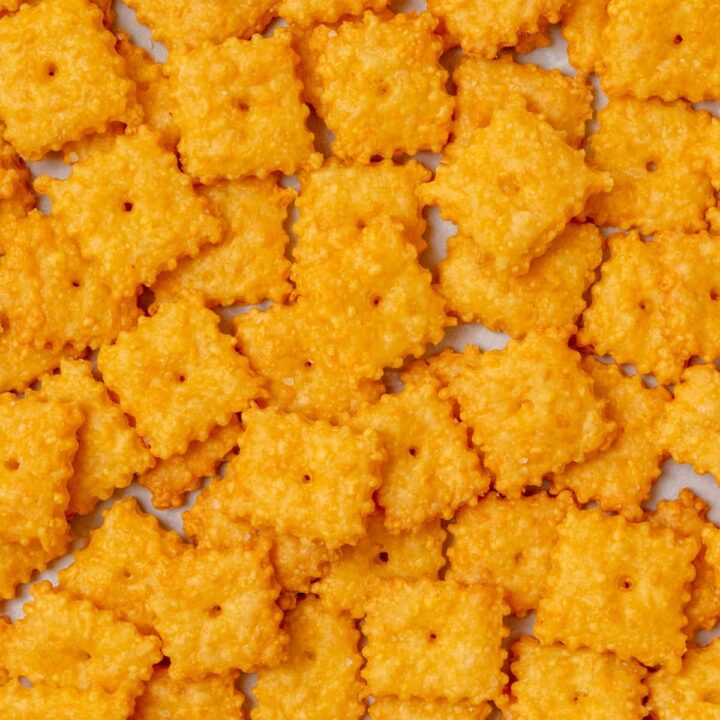
Homemade Cheez-Its
These homemade Cheez-Its are made with real sharp cheddar cheese and just a handful of pantry staples. They're crisp, buttery, cheesy, and surprisingly easy to make from scratch.
Ingredients
- 8 ounces sharp cheddar cheese, cubed and chilled
- 1 cup all-purpose flour
- ¼ cup unsalted butter, cold and cubed
- ½ teaspoon table salt
- 2 tablespoons ice water
- Flaky sea salt, for topping
Instructions
- Cut the cheddar into ½-inch cubes and chill in the freezer for 15 minutes.
- Cube the butter and keep it refrigerated.
- Add the flour and table salt to the bowl of a food processor.
- Add the chilled cheese and butter. Pulse about 15 times until the mixture resembles coarse sand.
- Drizzle in the ice water and pulse a few more times until the mixture resembles damp sand and holds together when pinched.
- Turn the mixture onto plastic wrap. Press it together into a ball, then flatten into a disc without kneading.
- Refrigerate for 30 to 60 minutes. Preheat the oven to 350°F a few minutes before taking the dough out.
- Roll the dough on parchment paper to about ⅛ inch thick or slightly thinner.
- Cut into 1-inch squares using a fluted pastry cutter, pizza cutter, or sharp knife.
- Press a hole through the center of each cracker with the blunt end of a wooden skewer. Move the parchment paper to a baking tray, separate the crackers slightly and sprinkle lightly with flaky sea salt.
- Bake for 12 to 15 minutes, until the bottoms are lightly golden.
- Cool completely on the baking sheet before serving or storing.
Notes
Nutrition Information:
Amount Per Serving: Calories: 205Total Fat: 14gCholesterol: 40mgSodium: 305mgCarbohydrates: 14gProtein: 7g
Nutrition information is an estimate and will vary depending on the specific ingredients and brands used.