
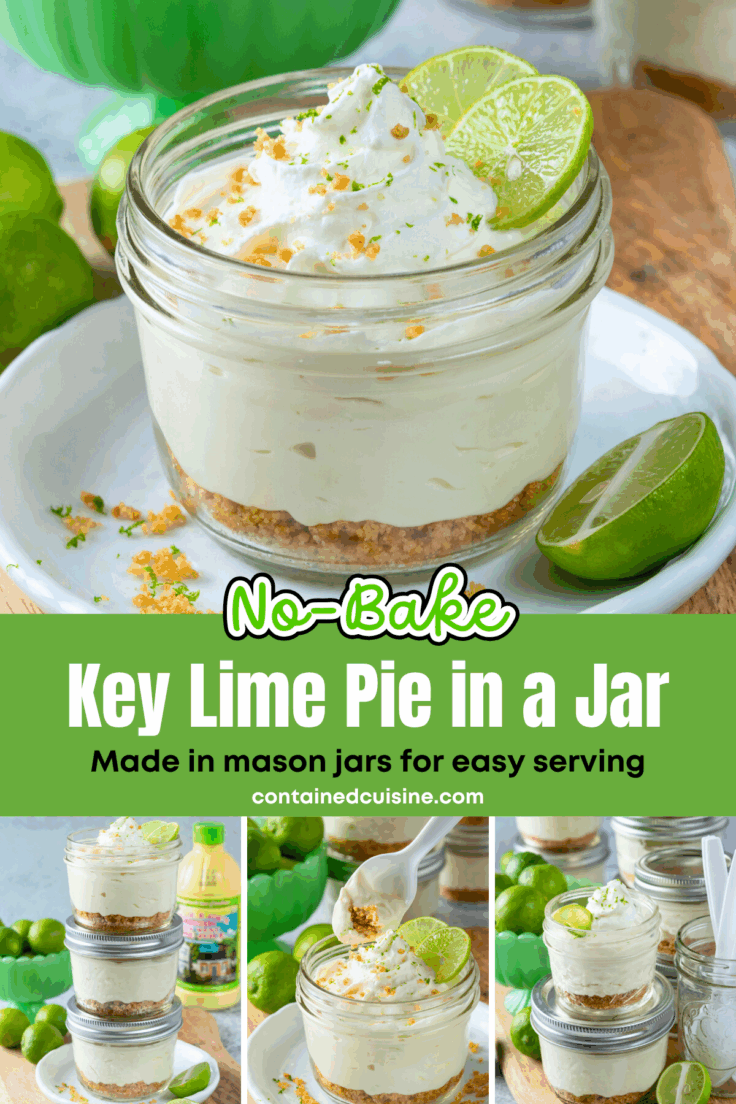
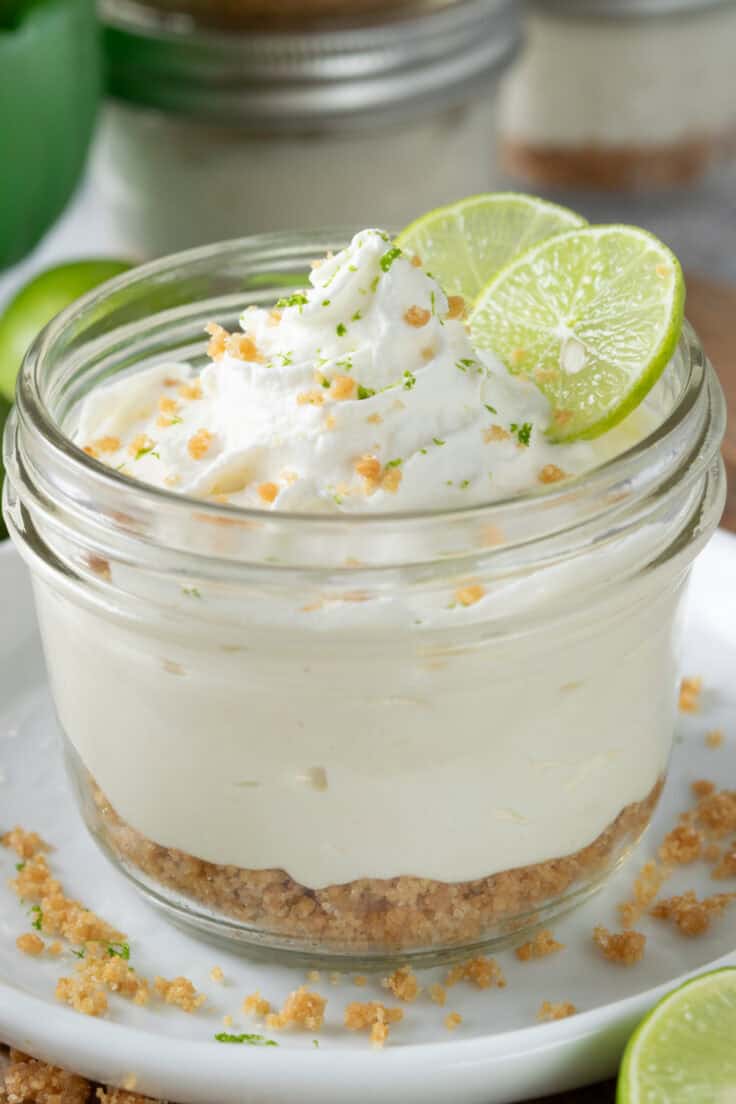
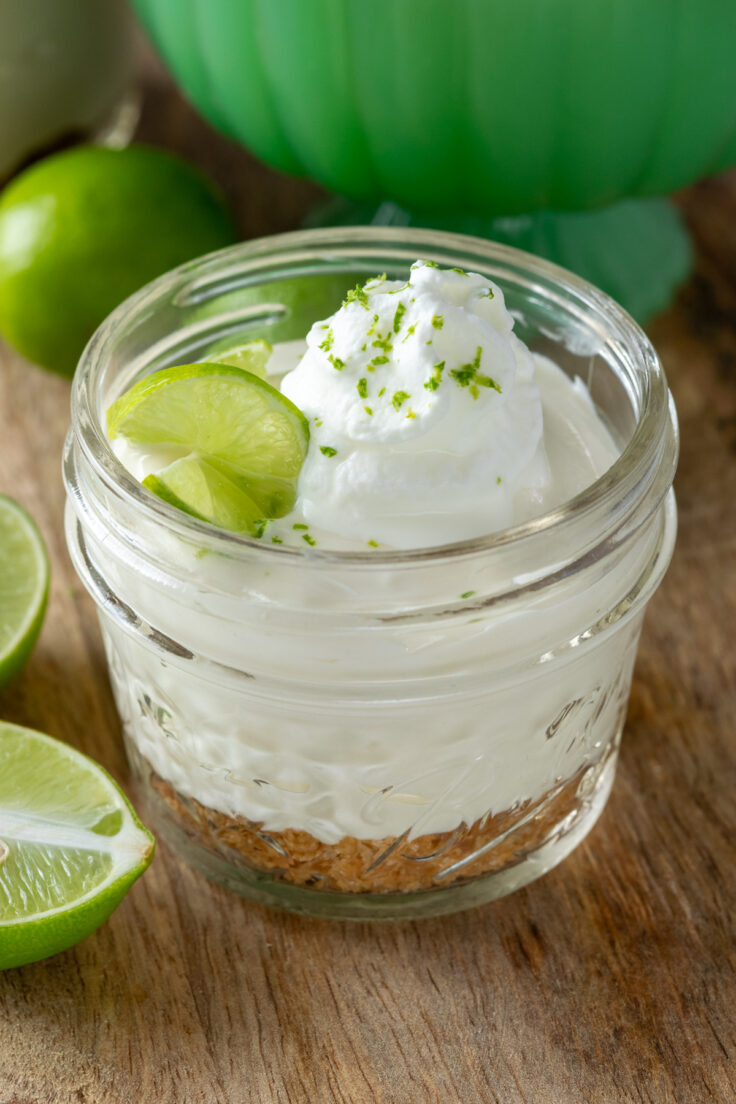
This no-bake key lime pie in a jar is one of my favorite mason jar desserts, especially in summer. It has three simple but delicious layers: a buttery graham cracker “crust,” a sweet-tart key lime filling, and a dollop of whipped cream on top. Every spoonful gives you a little bit of everything.
The creamy, tangy filling has cream cheese mixed in, which gives it a flavor that’s somewhere between traditional key lime pie and key lime cheesecake.
I’ve never met a key lime dessert I could resist, so these mini jars help keep my portion in check. We once stayed at a resort where the restaurant served a sheet pan key lime pie. Honestly, I could’ve eaten it for dinner and dessert.
This no-oven, no-fuss dessert is also perfect for the hotter months. To keep things truly simple, I use Nellie & Joe’s Key Lime Juice. It always tastes great and saves me from squeezing a bunch of limes, especially since the flavor of key limes around here in Chicago can be hit or miss.
These little jars are perfect for parties, potlucks, or any get-together where you want a refreshing dessert that’s easy to make and even easier to serve.
Save This One for Fall: If you love individual no-bake desserts like Key Lime Pie in a Jar, you’ve got to try my No-Bake Pumpkin Cheesecake Cups next! Creamy, spiced, and perfect for fall gatherings.
Why You’ll Love These Mini Key Lime Pie Jars
15 minutes to prep – There’s no baking involved, just combining ingredients and layering them in a jar. It’s quick, easy, and fuss-free.
Make-ahead friendly – These jars need to chill at least 2 hours, but can be prepped up to a day or two before your event, making them perfect for stress-free entertaining.
Easy to transport – This mason jar dessert is portable, making it great for picnics, potlucks, or parties on the go.
Pre-portioned and mess-free – No slicing or serving required, and everyone gets the same amount. No messy pie to cut!
Bright, creamy, and refreshing – The sweet-tart lime filling hits all the right notes, balanced by the buttery graham cracker crust and a fluffy whipped topping.

Ingredients
Here’s what you’ll need to make this no-bake key lime pie dessert. The recipe yields about ten 8oz jars or twenty of the mini 4oz jars.
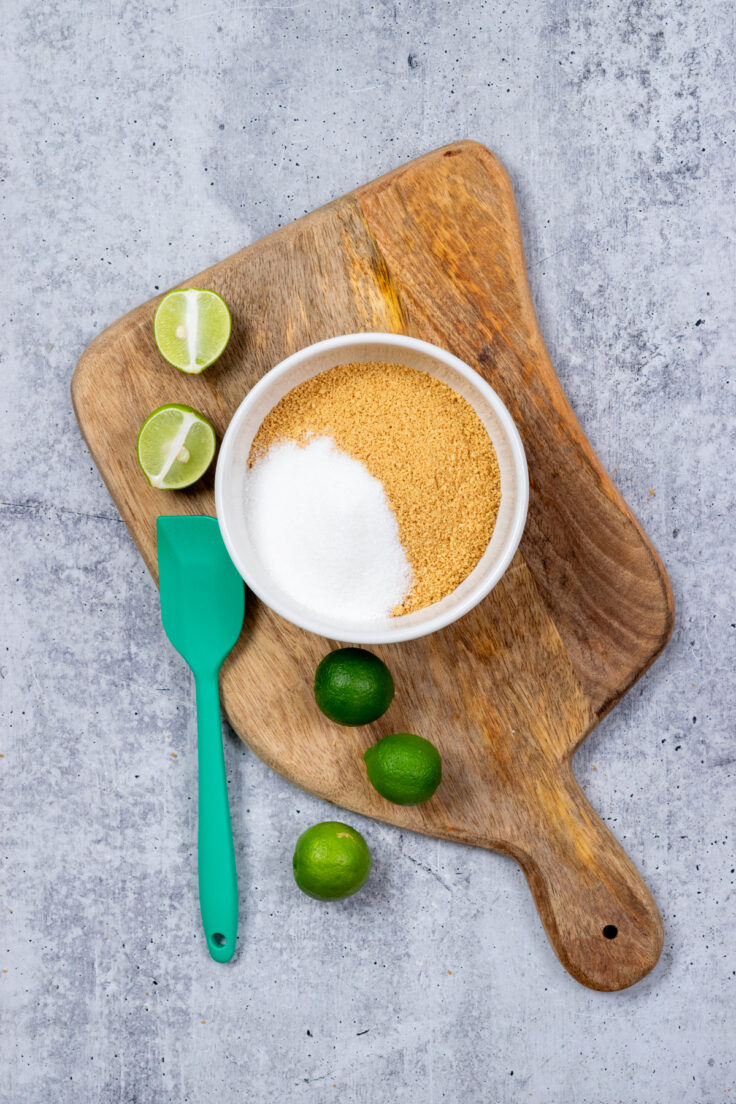
- Graham crackers
- Butter
- Sugar
- Salt
- Sweetened condensed milk
- Key lime juice
- Cream cheese
- Heavy cream
- Vanilla extract (optional)
- Key limes (optional, for garnish)

Ingredient Notes
Graham crackers – You can buy graham cracker crumbs or crush full graham crackers in a food processor.
Butter – Melted, to mix with the crumbs for the “crust” layer.
Sugar – Just a bit to sweeten the crust.
Salt – A pinch brings out all the flavors.
Sweetened condensed milk – Make sure you don’t grab evaporated milk by mistake (they’re not the same).
Key lime juice – Use Nellie & Joe’s for the best flavor. If you have great fresh key limes, you can squeeze your own. Just don’t use regular lime juice.
Cream cheese – I like block-style cream cheese. Leave time for it to soften before starting the recipe.
Heavy cream – Used in both the filling and the whipped topping.
Vanilla extract – Optional, but nice to add to the homemade whipped cream.
Key limes – Optional for garnish (along with lime zest or graham cracker crumbs).

How to Make Key Lime Pie Jars
Follow these easy steps to assemble your mini key lime pie jars.
Detailed recipe and instructions are in recipe card at bottom of post.
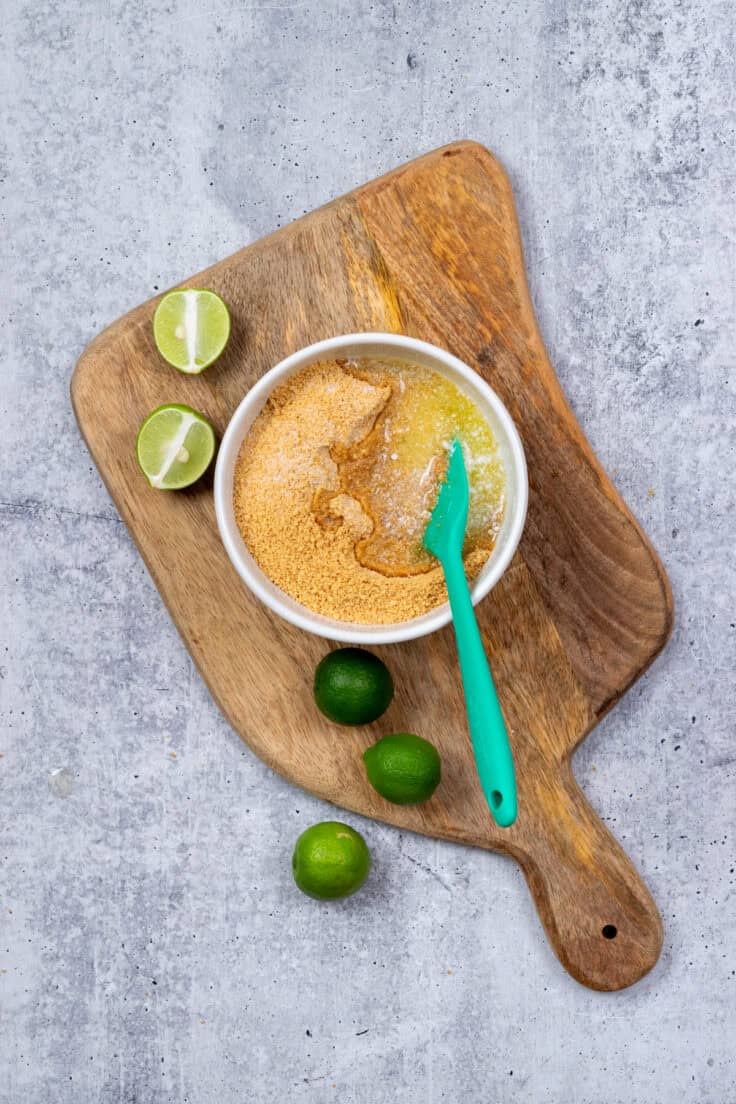
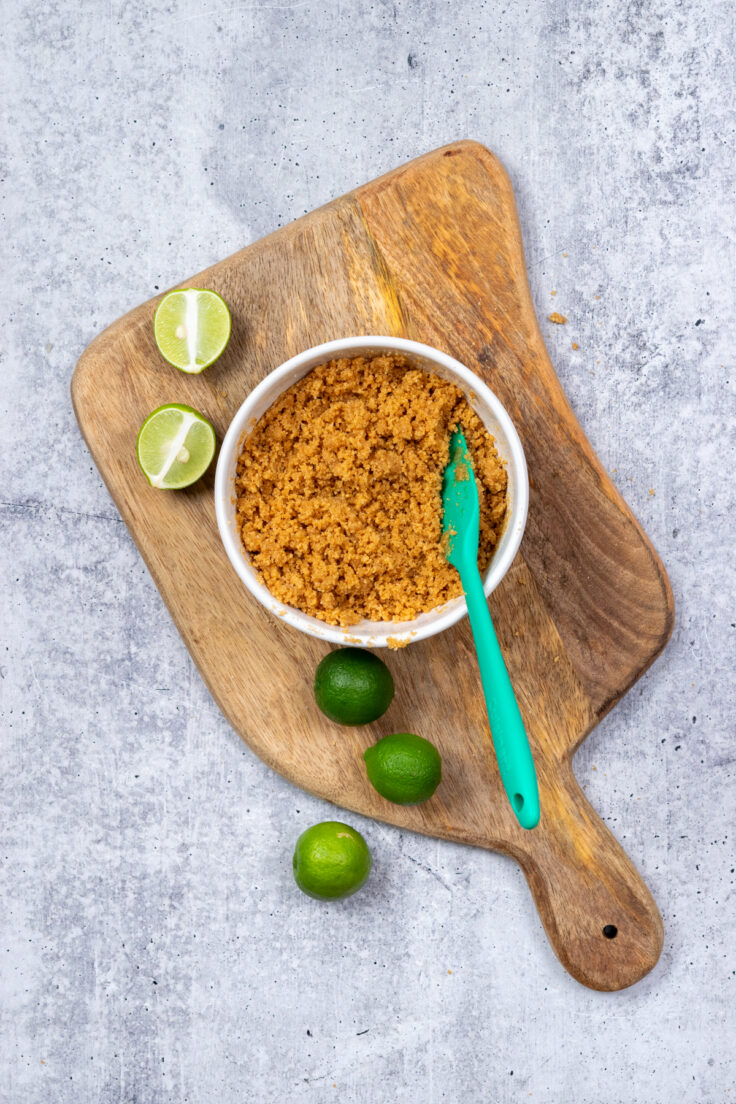
- Make the Graham Cracker Crust: Combine graham cracker crumbs, sugar, salt, and melted butter in a bowl. Stir until evenly moistened. Set aside while you prepare the filling.
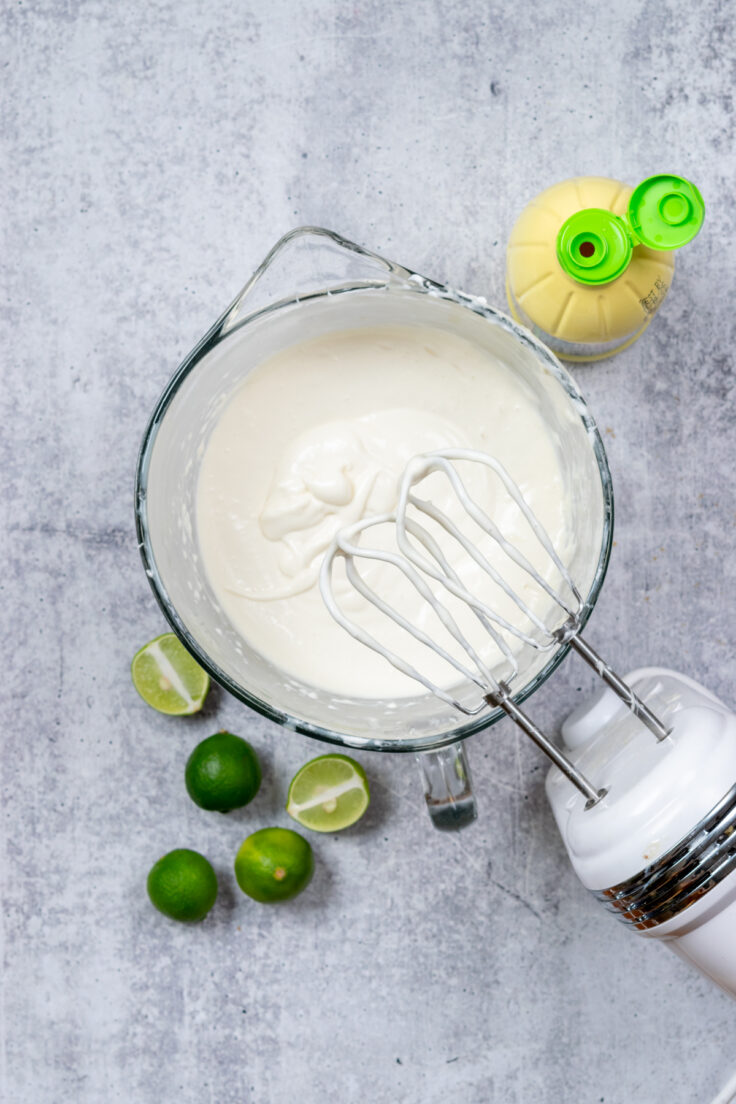
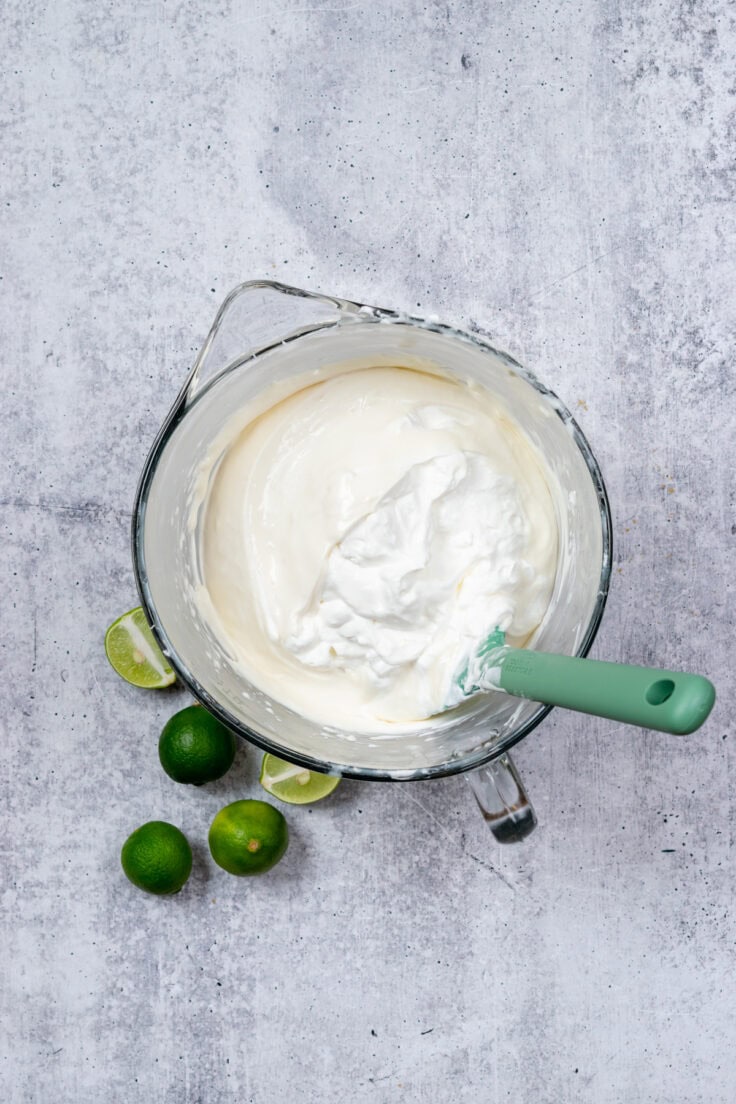
- Prepare the Key Lime Filling: First, whip the heavy cream to stiff peaks using a stand or hand mixer. Set it aside. In a separate bowl, beat the softened cream cheese and sweetened condensed milk until smooth and free of lumps. Slowly drizzle in the key lime juice while mixing continuously until fully combined. Gently fold the whipped cream into the key lime mixture until just blended.
- Assemble the Dessert Jars: Spoon the graham cracker mixture into each jar. For 8-ounce jars, use about 2½ tablespoons; for 4-ounce jars, use 1½ to 2 tablespoons. Press it down gently with the back of a spoon or a muddler, just enough to form a crust that’s easy to scoop. Scoop the filling into the jars. I like to first add the filling to a measuring cup, then use a small rubber spatula to fill the jar. (You can use a piping bag, but I usually skip it to save time and cleanup.)
- Chill, then Serve: Refrigerate the jars for at least 2 hours, or up to 2 days in advance. Just before serving, top with whipped cream and optional garnishes like lime zest, a slice of lime, or extra graham cracker crumbs.
Craving more crust? Double the graham cracker mixture and create two layers of buttery crumbs and creamy filling, especially perfect in 8-ounce jars.
Making the Graham Cracker “Crust”
Mixing the Creamy Filling


Assembling the Key Lime Pie Jars


Recipe Notes & Variations
- Make it lighter – This recipe works just fine with reduced-fat cream cheese and reduced-fat sweetened condensed milk if you’re looking for a slightly lighter version. The texture may be a bit softer, but still creamy and delicious.
- Add a citrusy boost – A little fresh lime zest mixed into the filling adds extra brightness and a pop of color.
- Using real key limes – If you prefer fresh key limes instead of bottled juice, look for small, slightly yellowish limes with thin skin and a fragrant aroma. You’ll need quite a few key limes to get enough juice for this recipe. Keep in mind the flavor can be hit or miss depending on availability, especially if you live outside key lime growing regions. Be sure to get a couple extra for garnishing!
- Jar shape matters – Don’t have short, wide-mouth jars? No problem. If you do use a taller, more narrow jar, just split the graham crackers and filling into two layers each, so every bite has the perfect balance.
Best Jars & Serving Options
You don’t have to have a cabinet full of mason jars like me! I’ve collected all kinds because I use them for meal prep and mason jar salads, but this recipe is flexible.
The classic mini 4-ounce jelly jars are perfect for single servings. They’re just the right size for a treat that feels special but not overwhelming.
If you want something a bit bigger, the short, wide-mouth 8-ounce jars are my favorite. They make it easy to get a good scoop of crust and filling in every bite.

Don’t have mason jars on hand? No problem! These mini pies also work beautifully in small disposable cups, which makes them great for picnics, parties, or any casual gathering.
Just remember, if you do use a tall container, double up the layers of crust and filling so every bite has a little of everything.

No-Bake Key Lime Pie in a Jar
These no-bake key lime pie jars are an easy-to-make dessert, perfect for summer parties or anytime you want a sweet treat. With layers of buttery graham cracker crust, tangy key lime filling, and fluffy whipped cream, they’re pre-portioned in mason jars and ready to enjoy without any baking.
Ingredients
- 1 cup graham cracker crumbs
- 4 tablespoons butter, melted
- 3 tablespoons sugar
- 1/4 teaspoon salt
- 3/4 cup heavy whipping cream
- 1 (8oz) block cream cheese, softened
- 1 (14oz) can sweetened condensed milk
- 3/4 cup key lime juice, preferably Nellie and Joe's
- whipped cream for topping
Instructions
Notes
- Make it lighter – This recipe works just fine with reduced-fat cream cheese and reduced-fat sweetened condensed milk if you’re looking for a slightly lighter version. The texture may be a bit softer, but still creamy and delicious.
- Add a citrusy boost – A little fresh lime zest mixed into the filling adds extra brightness and a pop of color.
- Using real key limes – If you prefer fresh key limes instead of bottled juice, look for small, slightly yellowish limes with thin skin and a fragrant aroma. You’ll need a bunch of key limes to get enough juice for this recipe. Keep in mind the flavor can be hit or miss depending on availability, especially if you live outside key lime growing regions. Be sure to get an extra for garnishing!
- Jar shape matters – Don’t have short, wide jars? No problem—if you do use a taller container, just split the grahmam cracker crust and filling into two layers each per cup.
Recommended Products
As an Amazon Associate and member of other affiliate programs, I earn from qualifying purchases.

